Building a standalone IPA keyboard: Part 3 - Disaster Strikes!
The other day my programmable keypad arrived in the mail. I was eager to get a bit of tinkering done before the keycaps came, so I decided to get stuck in.
In order to program the device you need download a piece of software provided by the vendor. The keyboard, being a keyboard, isn’t OS specific, but the keymapping software only runs on Windows. I knew this before I bought the thing and had my girlfriend’s laptop on hand to use the Windows partition. The app was easy to install and straightforward to use. So far, so good.
What’s the problem?
Then I tried mapping a character using a Unicode hex. And things went downhill.
What I soon discovered was that the keyboard didn’t operate by sending the Unicode to the OS. Instead, it works by sending a small set of USB HID (Human Interface Device) codes which correspond to the keys on a standard keyboard. Special symbols are a no go.
Macros are one way of getting around this. If you write a macro the equivalent of Ctrl Shift U plus the Unicode hex, then in a Linux system this will enter whatever symbol is specified by the hex. Unfortunately, the keyboard only has 8 macro keys and the macros are so limited in size that even the above is too long (the best you can do is Ctrl Shift U and half of the hex). No luck here.
At this point my heart sank. No way could this be a plug-and-play, OS-agnostic keypad. I’d have to fix things with software.
How I’m fixing it
After some furious searching, I came up with a plan:
- Get my head around some layout editing software
- Build a layout
- Add the new layout to my current list
- Tell my computer to use a regular US layout for my QWERTY keyboard and my newly created IPA layout for the keypad
As I noted in my first post in the series, creating new layouts is a pain in the arse. So I was amazed to find this intuitive, graphical program for editing XKB layout files in Linux.

Essentially, all you have to do is drag and drop Unicode symbols onto the keys. In my case, the only thing that really matters is having the correct three symbols on for each key. I can mess around with the layout at the device level later on.
Once a layout has been created it needs to be saved to /usr/share/X11/xkb/symbols.
Then the next step is getting the keypad to use this layout. I started by finding the device ID for the keypad.
xinput -list | grep key
That produced the following output.
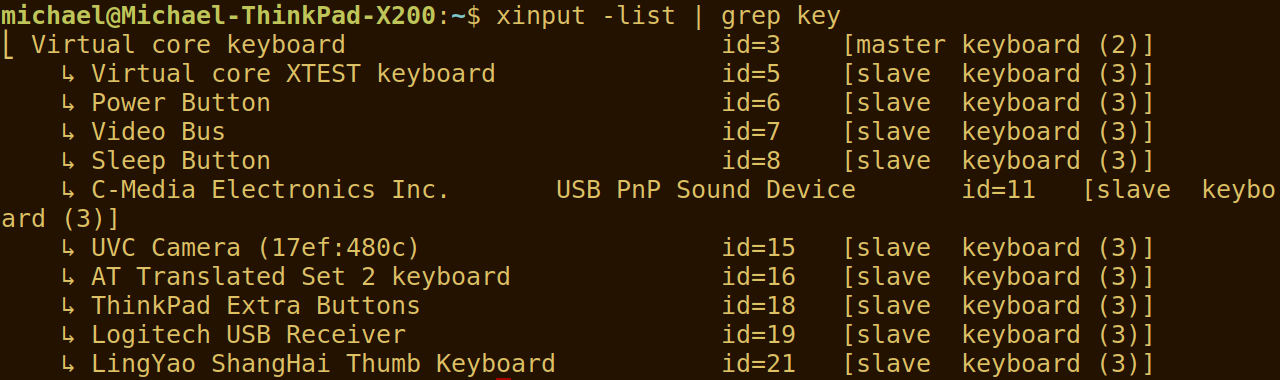
Once you know the device ID and the name of the layout you want to use, use setxkbmap to assign the layout.
setxkbmap -device 10 layout ipa
As you can probably guess, the number after -device is the device ID and the text after -layout is the code for the keyboard layout. This method can be used to assign any connected keyboard a different layout.
To save myself the hassle of typing these two commands every time I want to use my keypad, I asked my friend to put them into a shell script to run on login. Once we’d checked the script, I added the command to run it to my list of Startup Applications.
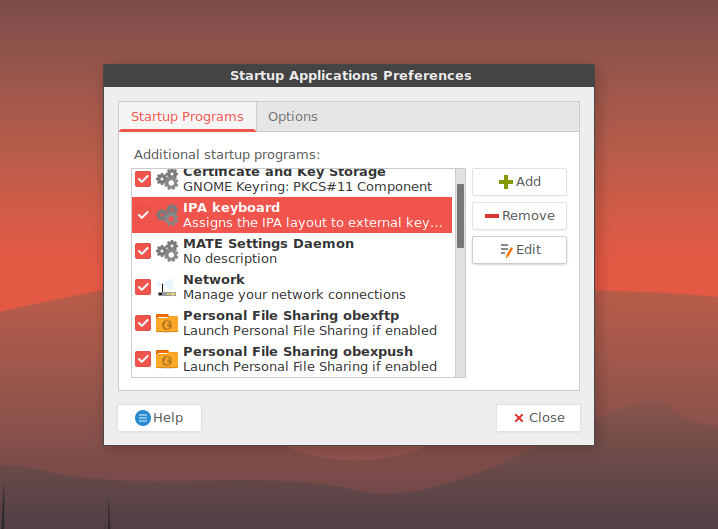
Now whenever I log in with my keypad plugged in, it’s automatically assigned my IPA layout. Rad.
What this means for the project
The good news is, I’ll still have a working IPA keyboard for which I won’t have to remember any shortcuts. I can use it with both my laptops with a minimal amount of fuss. Any changes to the layout can be made at the software level.
The bad news is, all of my fixes are GNU/Linux specific. If I wanted to use it on a university computer or lend it to a friend with a Mac, I couldn’t.
Also, I lost a usable key in the process of creating my layout. Because I could no longer exploit the multiple layers of the keypad, I had to use both Shift and Alt as modifier keys to access the two other symbols on each key. As a consequence, only 46 keys are assigned IPA symbols.
Nevertheless, what I’ve come up with will be exactly what I want 95% of the time. Doing everything through hardware would have been nice, but it turns out that’s quite a bit more complicated and very, very expensive. Keyboards with more than 24 keys that allow you to write lots of complex macros can easily cost hundreds of dollars. I’m just glad I could achieve what I have with a few cheeky hacks and a pretty basic board.
In sum: there was a problem with hardware; I fixed it in software; now I’m relieved.
Next steps
- Replace the keycaps once the new ones arrive
- Test and fine tune the layout