Building a standalone IPA keyboard: Part 4 - Putting it all together
 Aw. Yiss
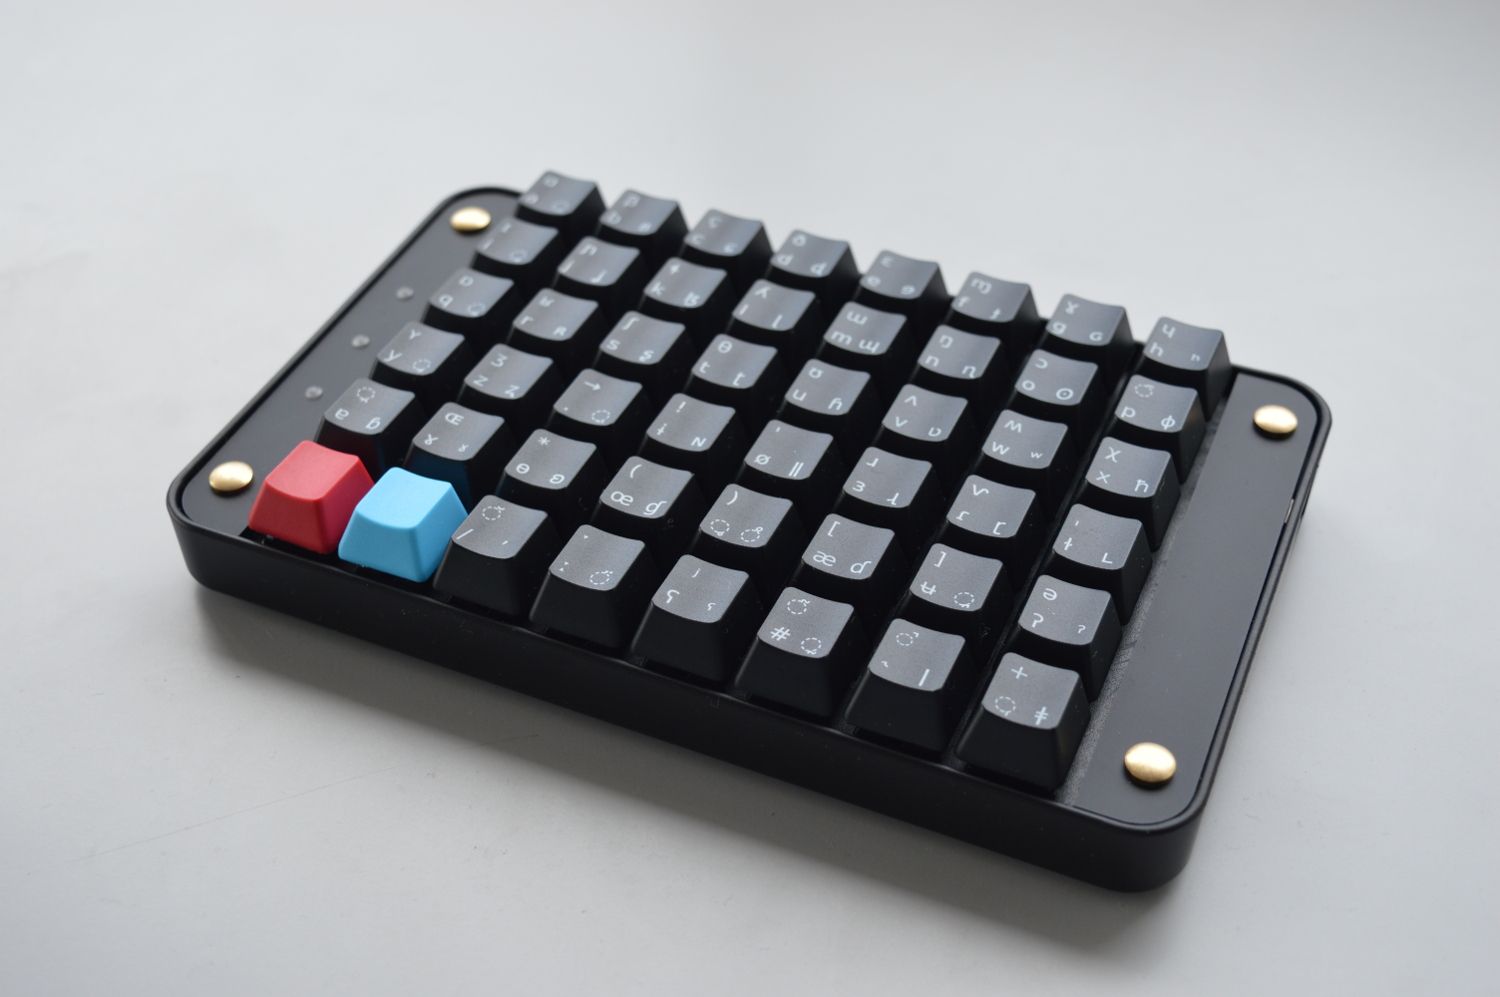
It’s done! I did the thing! Keycaps landed a little while ago and after a little fiddling around I had a finished IPA keyboard in front of me. Stoked.
For anyone interested in the details, I’ve written about the final steps below.
A closer look at the keycaps
I was more than a little apprehensive before the keycaps arrived. While I was reasonably confident they’d be fine, I couldn’t help but wonder…
- Had I picked the right keycap profile?
- Was my design messy and uneven?
- Would the printing be clear and consistent?
- Could some keys have been lost in transit?
Fortunately, my fears were unfounded. The keys were perfect. Here’s a couple of close-ups.
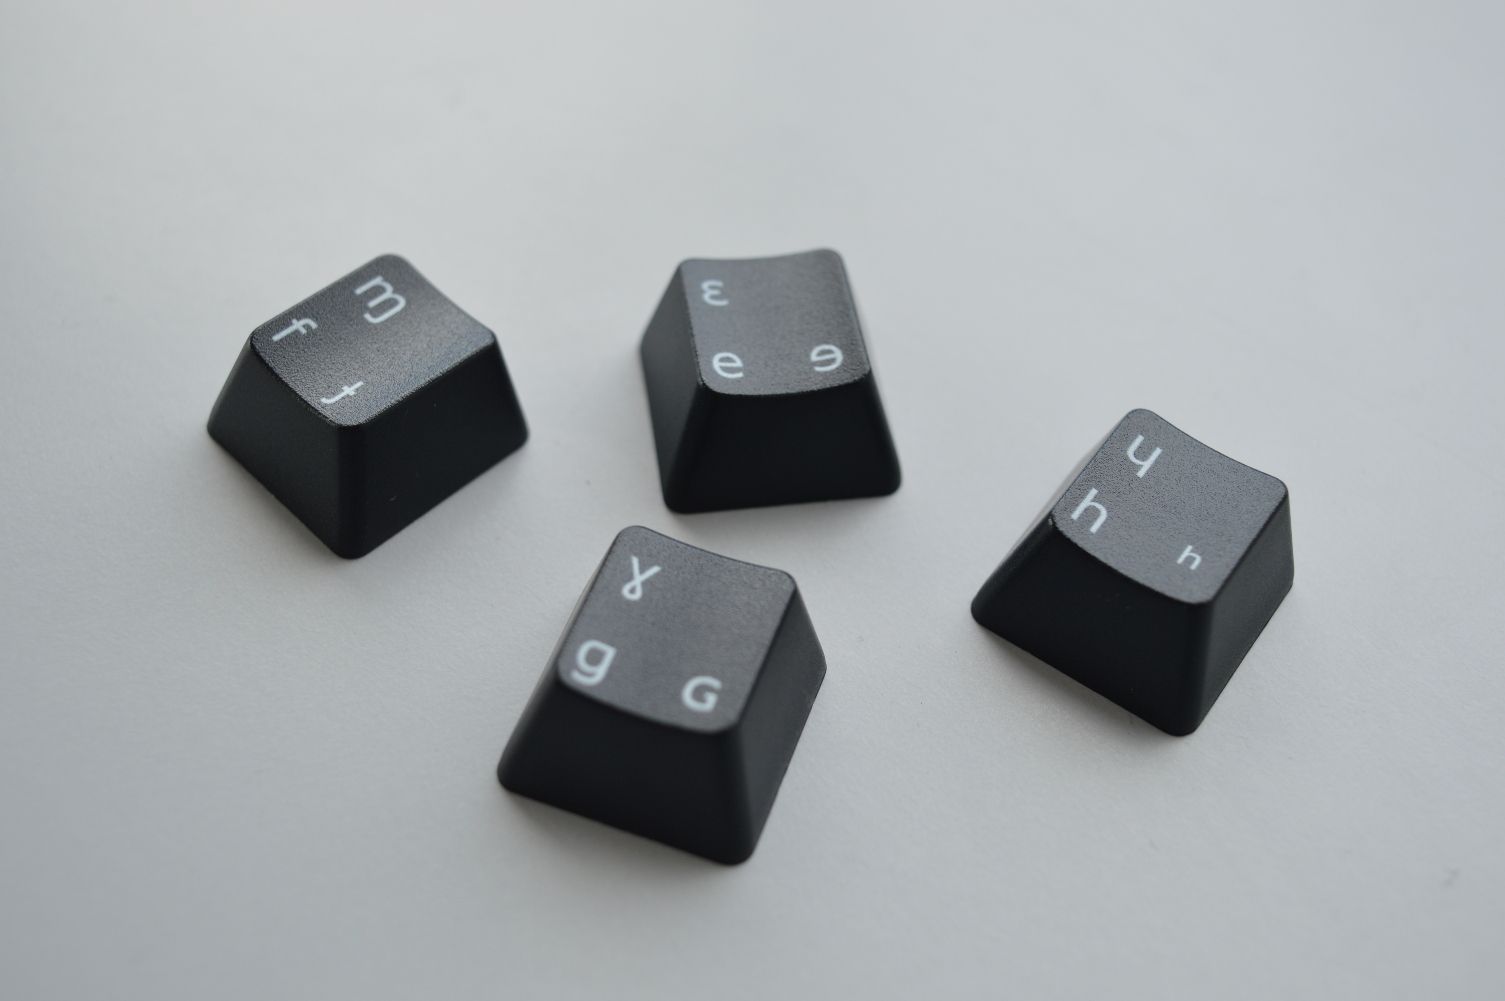
I’m yet to see how they’ll wear, but I’m pretty confident they’ll be fine for the long run. Rubbing symbols off keys has never been an issue for me, and I’ll be using this keyboard considerably less than my main one.
Replacing the keycaps
This bit’s easy. It reminded me of building a Lego set and was equally as satisfying.
For this step a keycap puller was essential. You could try and prize of the caps with only your fingers, but I wouldn’t recommend it. Not only is it tricky, but you run the risk of damaging the mechanical switch underneath.
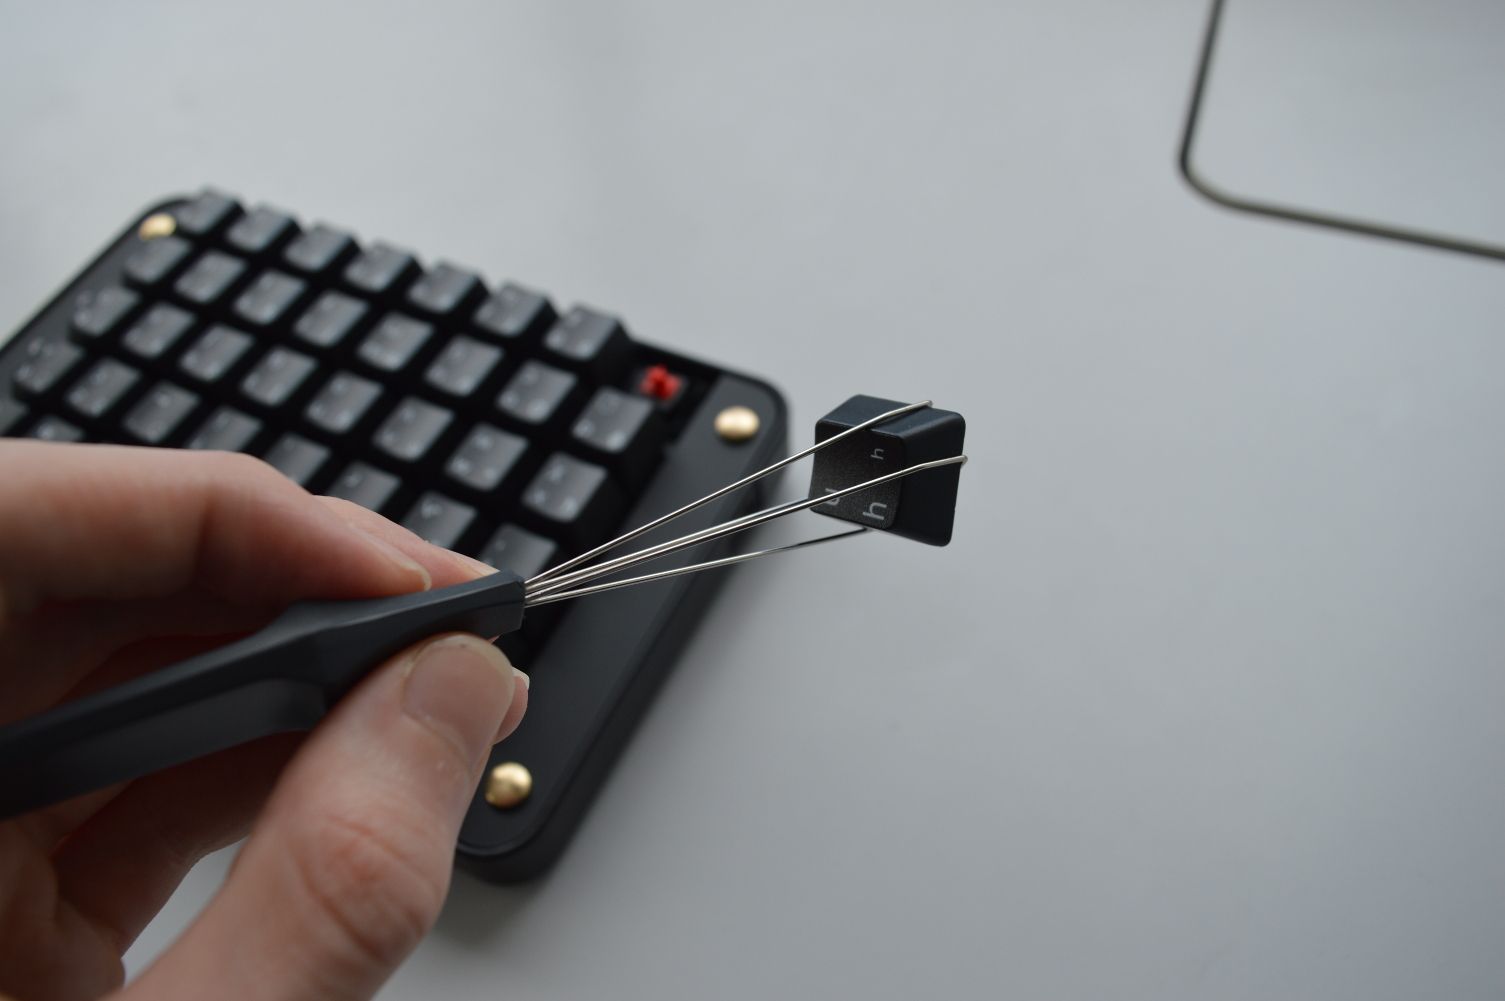
A tool like the one above costs only a few dollars, but does an amazing job. Once you’ve got the knack, it only takes a second or two to whip off a key.
In about 15 minutes I’d taken off all the original keys and replaced them with my new ones.
 A close-up of the Cherry MX Red switches.
Testing
As expected, there was some fine-tuning to do.
I had two problems: some symbols just wouldn’t appear after I’d typed them; and some symbols on the same key had mysteriously swapped places.
After a little head-scratching, I discovered the best way to fix both these problems was by opening the layout file in a text editor and manually tweaking the layout, i.e. not using the graphical Keyboard Layout Editor. Fortunately this was much less intimidating than creating a layout from scratch. There’s really not much to these files, so their structure is pretty transparent.
I think the main issue here was that some characters were referred to by their Unicode hexes (U+0278), while others had a written description
For example, I
Tweaking
Although in my second post, I said I’d decided to go with a modified QWERTY layout the final product isn’t even remotely QWERTYish. Why? Plain old naivety on my part. For some reason the fact that more than half the rows are more than 8 keys long seemed not to register. Of course, I could have chopped things up a little and still largely preserved the QWERYness. But, really, what’s the point? I’m not used to typing on a keyboard with one hand anyway.
What I ended up doing was making the first half of the board alphabetical (ABCDEF) and then filling the rest with the leftovers. So far it’s been fine, so I’m probably just going to leave it as is. If there were ever a time to apply the 80/20 rule, this would be it.
The end result
Enough waffle. Here’s the end result.

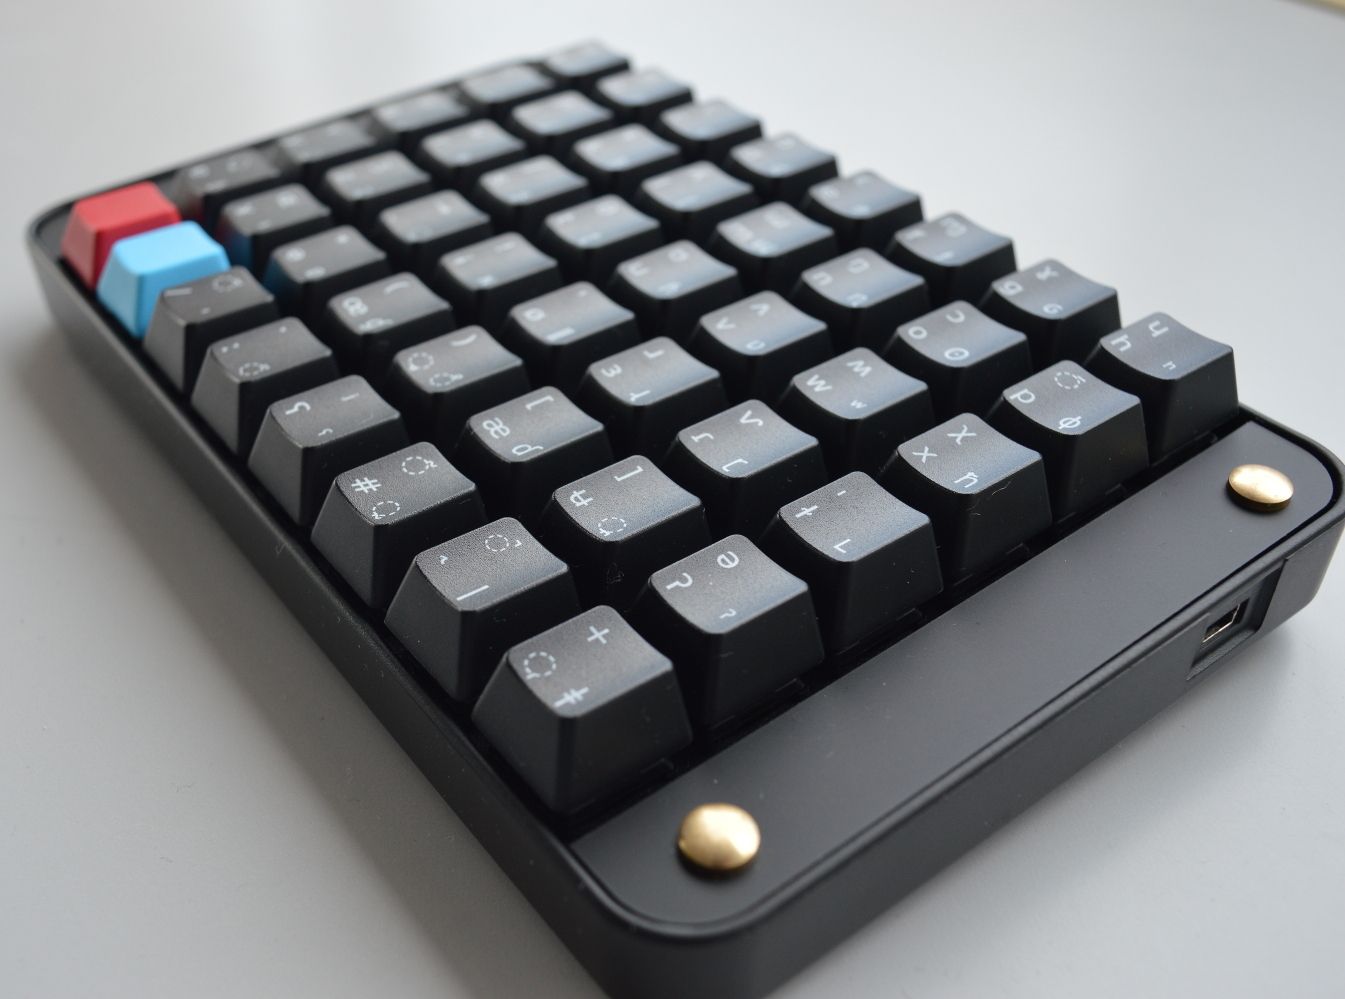

Looks pretty slick if I do say so myself.